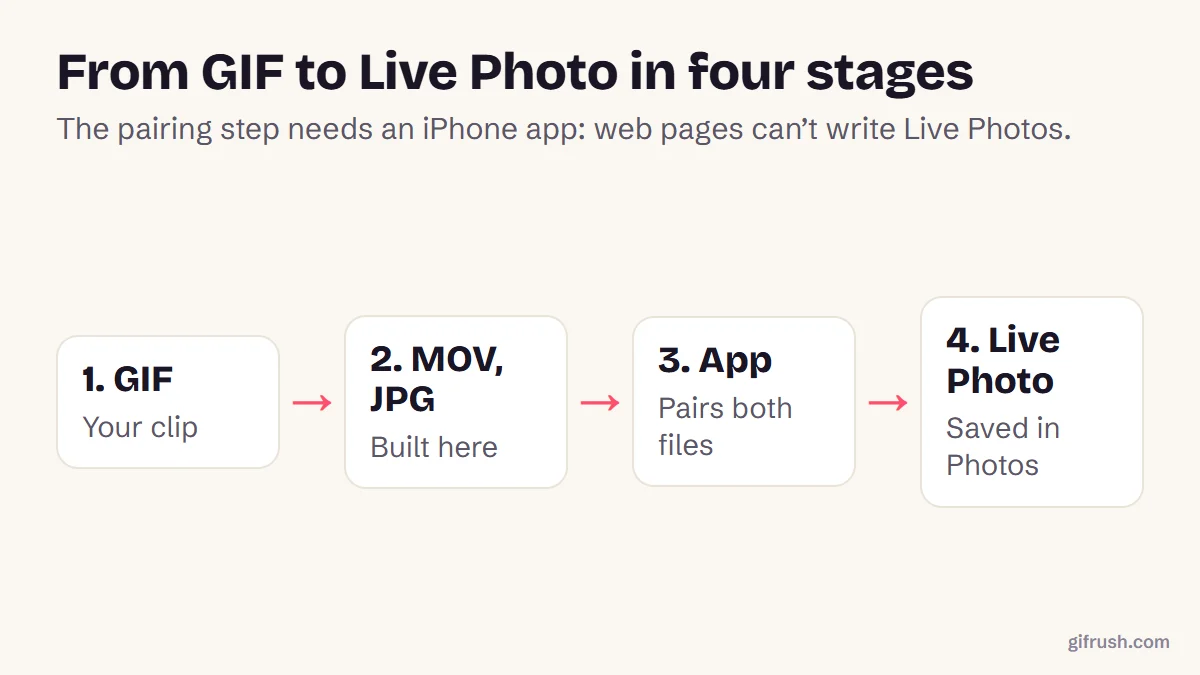
GIF creation · 5 min read
How to turn a Live Photo into a GIF
Quick answer
On iPhone, run the Make GIF shortcut in Apple’s Shortcuts app and pick your Live Photo; the GIF saves to Photos. On a Mac, set the Live Photo to Bounce in Photos, then choose File, Export, Export GIF. In any browser, convert its MOV video with a video-to-GIF tool.
Key takeaways
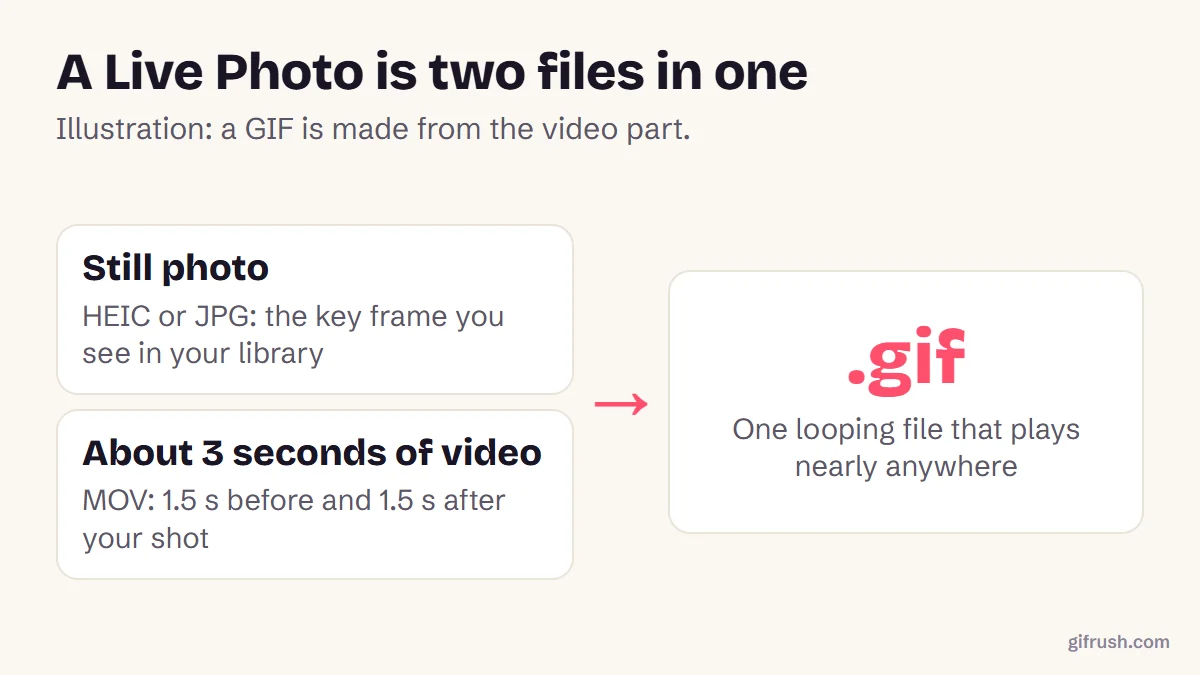
- A Live Photo is a still and about 3 seconds of video, so it’s ideal GIF material.
- Loop and Bounce make a moving clip in Photos, but you may not get a true .gif file when you share it.
- Shortcuts or the Mac’s Export GIF give you a real GIF with almost no effort.
- Use a browser tool when you want control over length, width and file size.
How do you turn a Live Photo into a GIF?
iPhone Live Photos capture 1.5 seconds before and after your shot, so you already have the movement. The best route depends on the device you’re using and how much control you want:
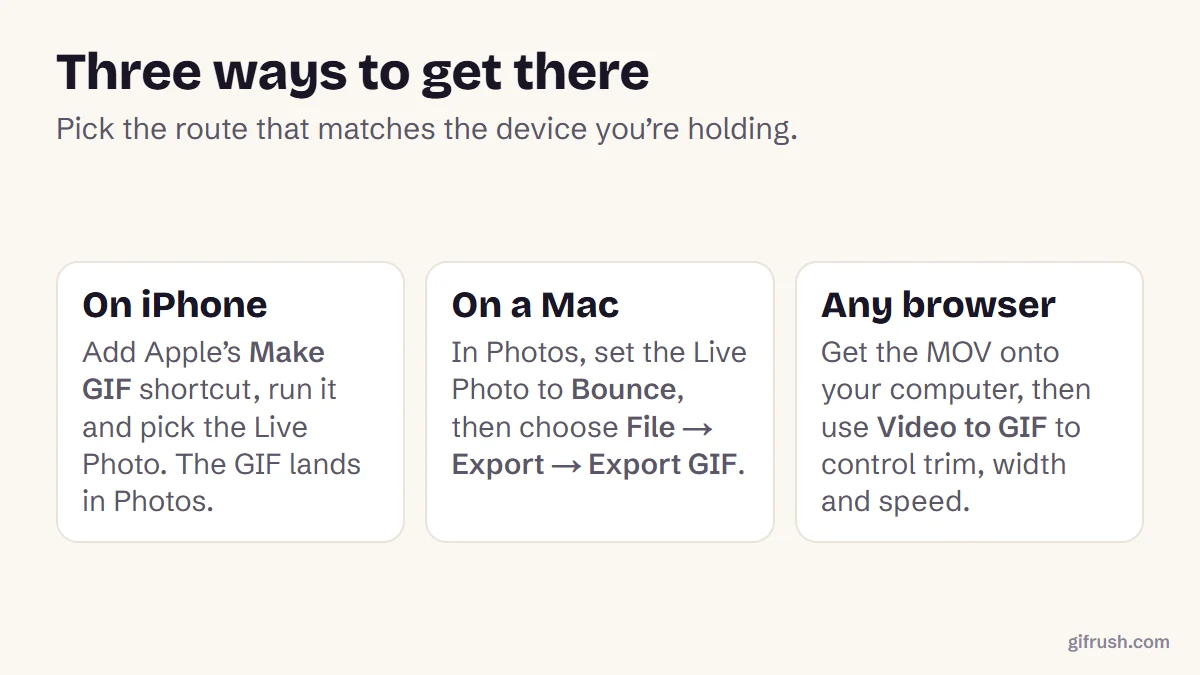
| Method | Best for | Control over the result |
|---|---|---|
| Make GIF shortcut | Quick results on iPhone | Very little |
| Photos on Mac | A one-off on a Mac | Little: trim and effect only |
| Browser tool | Getting size and quality right | Full: trim, frame rate, width, quality |
Method 1: On your iPhone with Shortcuts
Open Shortcuts
It’s Apple’s free automation app. Reinstall it from the App Store if you’ve removed it.
Add the Make GIF shortcut
Search the Gallery tab for “GIF”, then add Make GIF. The name and location can change between iOS versions.
Run it and pick your Live Photo
Tap the shortcut and choose your Live Photo from the library.
Find the GIF in Photos
The finished GIF is saved to your Photos library, ready to share.
Method 2: On a Mac with Photos
Open the Live Photo and click Edit
In the Photos app, double-click the Live Photo, then click Edit in the toolbar.
Choose Bounce
Use the pop-up menu at the bottom right of the photo, select Bounce, and click Done.
Export the GIF
Choose File, Export, then Export GIF. If that isn’t offered, use Export Unmodified Original to save the video, then follow Method 3.
Method 3: In any browser, with full control
This works from Windows, Android or anywhere else, and it’s the one to choose if the GIF needs to fit a size limit.
Get the video part
On a Mac, use File, Export, Export Unmodified Original. On Windows, connect your iPhone and copy the .MOV that sits beside the photo. On iPhone, you can save a Live Photo as a video.
Add it to Video to GIF
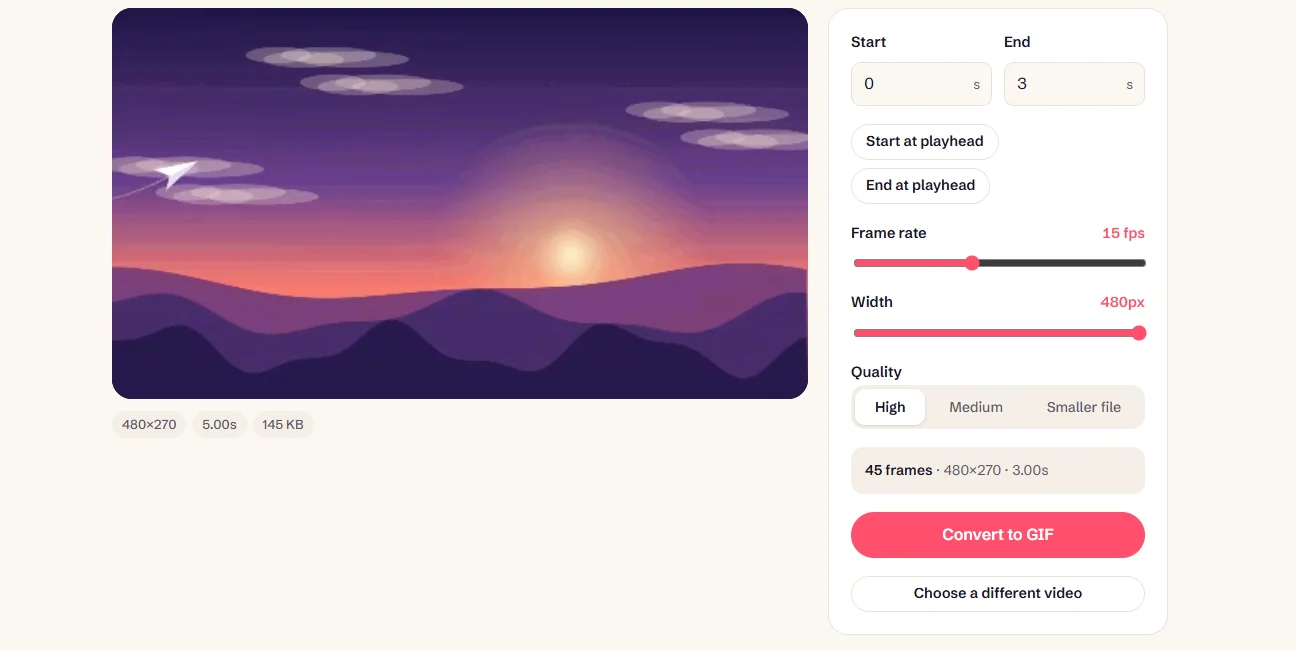
Drop the file into Video to GIF. If it won’t play, try Safari, which handles the HEVC format that iPhones often record in.
Trim and set the size
Live Photos are short, but you can still trim any shaky start or end. Use 12–15 fps and up to 480 px.
Convert and download
Press Convert to GIF, check the size, then download.
Your MOV stays on your device. Nothing is uploaded.Open Video to GIF
Loop vs Bounce: which one looks better?
To apply an effect on iPhone, open the Live Photo in Photos, tap the Live Photo button near the top of the screen, and choose Loop or Bounce. These are effects inside Photos, and when you share them, you may get a video instead of a .gif file.
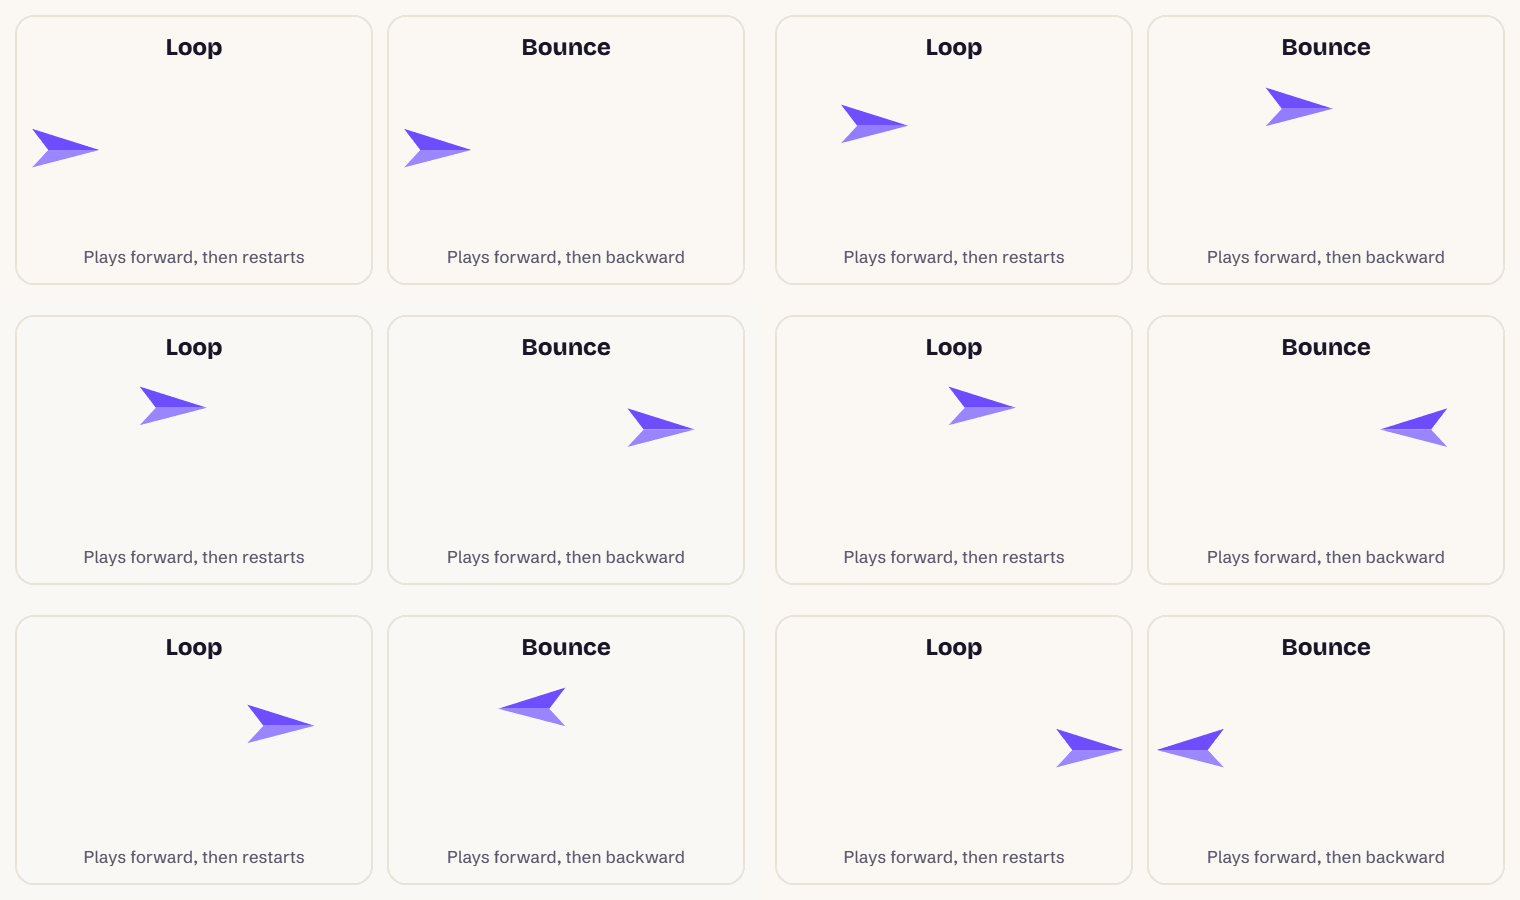
Bounce works for almost any clip, because it has no visible jump. Loop works best when the camera was still. You can get the same forward-and-back effect on any GIF with our Reverse GIF tool’s Boomerang mode. There’s more on this in how to make a GIF loop smoothly.
How do you turn a regular picture into a GIF?
A regular photo has no movement stored in it. Converting one image gives you a still GIF, with JPG to GIF or HEIC to GIF. To get animation, combine several photos in Images to GIF. Burst shots work especially well. For more, read how to make a GIF from scratch.
Going the other way is possible too. See how to turn a GIF into a Live Photo.
New to this topic? Start with our main guide: How to make a GIF from scratch
Frequently asked questions
How do I turn a Live Photo into a GIF on my iPhone?
Add the Make GIF shortcut in Apple’s Shortcuts app, run it and choose your Live Photo. The GIF is saved to Photos. Menu names can vary slightly between iOS versions.
Can I export a Live Photo as a GIF on a Mac?
Yes. In Photos, open the Live Photo, click Edit, choose Bounce, click Done, then choose File, Export, Export GIF. If the option is missing, Apple suggests exporting the video using Export Unmodified Original.
Is a Loop or Bounce Live Photo a GIF?
Not necessarily. They’re effects applied in Photos, and sharing one may send a video rather than a .gif file. To get a true GIF file, use Shortcuts, Export GIF or a converter.
How long is a Live Photo?
About 3 seconds. Apple says an iPhone records 1.5 seconds before and 1.5 seconds after you take the picture.
How do I turn a picture into a GIF?
Convert one image to get a still GIF, or combine several images to get an animation. GifRush’s JPG to GIF, HEIC to GIF and Images to GIF tools do this for free in your browser.
Sources
- Bring your photos to life (Apple Support)
- Edit Live Photos on iPhone (Apple Support)
- Export a Live Photo as an animated GIF in Photos on Mac (Apple Support)
- How to make GIFs on iPhone with the built-in Shortcuts app (9to5Mac)
Free tools for this
Video to GIF
Turn MP4, WebM or MOV clips into smooth looping GIFs. Trim, resize and set the frame rate.
HEIC to GIF
Convert iPhone HEIC/HEIF photos into a GIF — one photo or an animated sequence.
Images to GIF
Combine PNG, JPG, WebP or HEIC images into an animated GIF slideshow with custom timing.
Reverse GIF
Play a GIF backwards, or make a seamless boomerang that loops forward and back.